CLICK HERE FOR FREE BLOGGER TEMPLATES, LINK BUTTONS AND MORE! »

Friday, September 30, 2011

Justwordz DT Friday!

Hi Crafters,

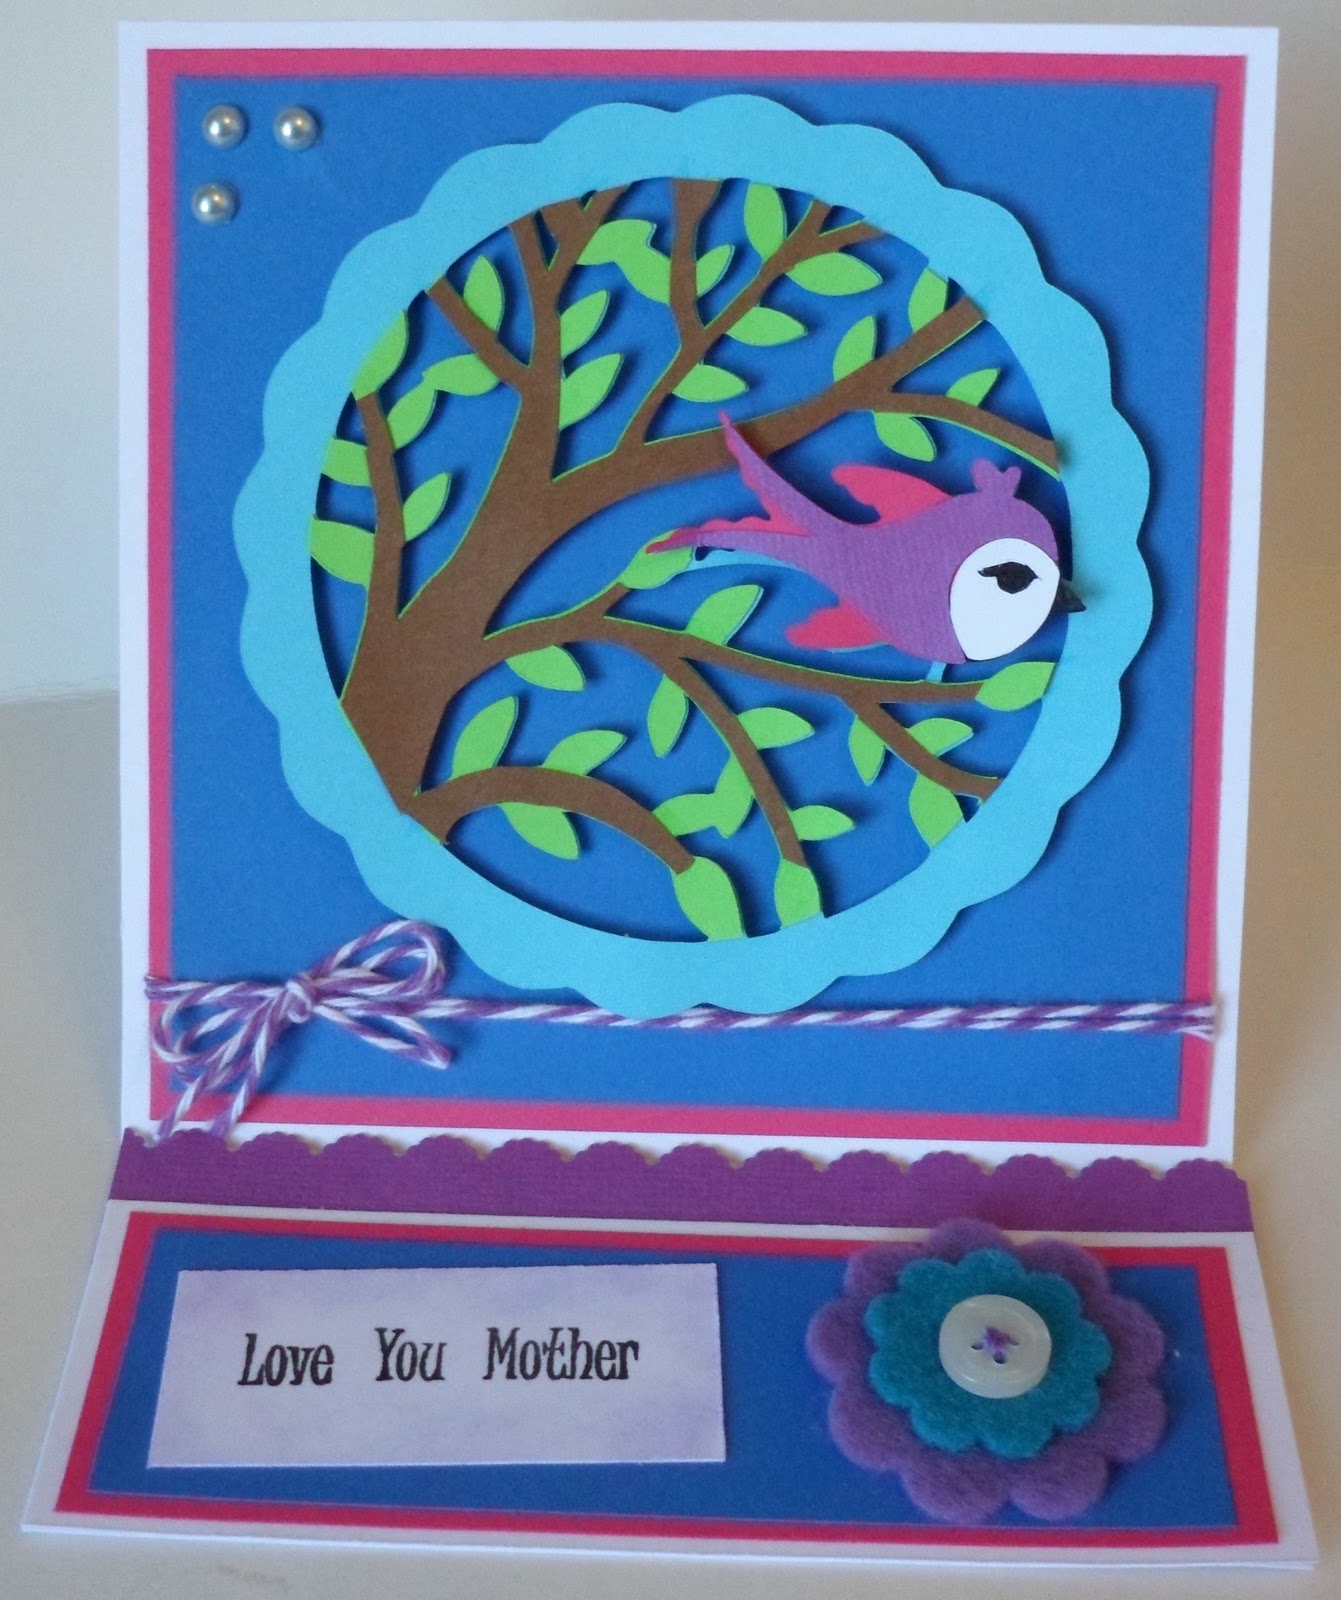
This week for the Justwordz DT we were asked to make a shape card. I have only ever made one of these before and it does not go so well so I started this one when I knew I had a lot of time! Funny thing was it whipped up in no time at all...it's that just aways the way lol. I decided to try the shape feature on the Hello Kitty cartridge again (this was the cartridge I used for my last shape card that gave me so much trouble) I was not going to let this cartridge get the best of me plus it is just too stinkin' cute and there is really no reason I don't pull it out more.

I made this card for a super sweet friend who always has a smile and a kind word for everyone. She is starting up her own business while still teaching full time and is a total inspiration to me! I am going to give her this card just for being herself :) She used to teach in China and I am not sure if it is something in the air there or what but when she came back she was a huge Hello Kitty fan! Enjoy,Catherine :)


Details:
Roughly an A2 size card
Cardstock: textured purchase at my LSS
Cricut Cut: Hello Kitty cartridge cut @ 5" on card feature
Sentiment: Justwordz Everyday Sentiments Set
Bling: Dollarama

Don't forget Kim is about to release two new stamp sets! A party invite set and a Christmas set! For a limited time she is taking pre-orders for a introductory price of $18.99!!! Here's a peek at the sets...


(Remember you can click on the image to see it larger so you can see each and every beautiful word on these amazing sets)!

Don't forget to head over to the Justwordz blog and check out the rest of the DT creations made with the Everyday Sentiments stamp set! Don't forget this set is still available to but there is only limited supply left before you will have to wait for a re-order from the manufacture.

Have a wonderful weekend everyone and happy crafting!
Tara

I am linking this card at:

Wednesday, September 28, 2011

DCWV sketch layout

Hi Crafters,
I have been very busy lately getting stuff together for my up coming wedding. If you have not heard me talk about it yet our date is New Years Eve! I have made it my mission to get all the details taken care of as much as possible before the holidays. So anything that can be done in advance IS being done in advance! That being said I have not had a great deal of time to craft for myself lately between DT obligations and wedding stuff. I was doing a bit of blog hopping recently and came across a layout challenge on the DCWV blog. Challenges have been the last thing on my mind lately but this one stood out to me. Something about that layout and then it hit me...it would be an awesome layout for using up the scraps. I have not posted an official 'using up the scraps' project in quite some time but I promise I still have lots of ideas up my slelve!

 Honeslty, I didn't use any scraps on this project, I cut all new pieces for this but...you could very easily use scraps on this layout. My three patterned papers on this layout are from DCWV Holiday stacks from the 2010 season. The pink textured cardstock is Bazzill and the white is Staple brand. Oh I used these colours because Navy, that exact pink and silver are my wedding colours. I think I might use this page as my title page for my wedding album :) How is that for a head start on things, lol.


(sorry the picture is a bit burry..I still have yet to figure out the settings on this new camera)

Details:
Patterned papers: DCWV 2010 Holiday Stack
Cardstock: Bazzill and Staples Brand
Cricut Cuts: Heart - Plantin Schoolbook 3" and 3 1/4"
                   Title - Ashlyn's Alphabet 2"
Journaling spot: Ditto sticker
Key charm: K & Company
Gems: Dollarama
Ribbon: Offray
Mini Heart punch: Dollarstore find
Stickles

Monday, September 26, 2011

Paper Playtime Challenge #56

Hi Everyone and welcome,
Today is a new challenge day over at Paper Playtime and my last week there as a DT member for the month of September. The challenge starting today is to create a Halloween themed project. I must say the project I created for this challenge is my favourite creation yet this year. It just came together perfectly! I got the idea from the Stampin' Up Christmas Mini catalogue. In there they made a wreath like this with Christmas papers. I decided to try my hand at it with some Halloween papers I have been hoarding since last year.

I started by cutting a base for the wreath out of cereal boxes using my Cricut. Just did a circle and then a smaller circle inside it in the Design Studio. This was what I used to hot gun all those rosettes on. After creating the wreath I fancied it up with some embellishments. I cut a bunch  of small circles out of my Cricut (it was acting weird that day and not actually cutting these in perfect circles but in the end I love that)! I inked those up and glued them on placing a hand dyed bauble inside each one, Don't they look like freaky eyes?! The black stiff ribbon was something from my stash and the black and white twine is from the Twinery. The Happy Halloween was also cut using the Cricut and the Mini Monsters cartridge and then I used glossy accents on the orange letters.

I wish you could see it in real life as the picture does it no justice and the dimension is awesome! I can't wait until it is time to decorate for Halloween and display this baby! Now its your turn to get creative...head on over to the Paper Playtime blog first for some more spooky inspiration and then show us what you got!
Happy Crafting!
Tara


Details:
Patterned Papers: Martha Stewart Halloween Pad (2010) + Imaginisce papers (2010)
Cardstock: Scrap pile
Ribbon: Stash
Twine: Twinery
Baubles: hand dyed
Mini Monsters + Plantin Schoolbook Cricut cartridges
Martha Stewart scoreboard
Hot glue gun
Glossy Accents


Sunday, September 25, 2011

Birthday Sundaes Challenge #28

Hi Everyone,
It's time for a new challenge on the Birthday Sundaes blog. This week the challenge is to make a birthday card with buttons. Oh and don't forget the sentiment on the front of your card. I decided on a bright fun one for today. I really like the images on the Rock Princess cartridge but honestly the bigger you cut them out the better as there are so many little tiny pieces. This cartridge doesn't have those awesome Create-a-critter type layers but I still love it!

Thanks for stopping by today and don't forget to head on over to the Birthday Sundaes blog to check out the rest of the DT creations as well as our guest designer this week.

Happy Crafting!
Tara
Details:
A2 size card
Cardstock: White- Staples Brand, coloured -Recollections
Cricut Cut: Rock Princess cut @ 3.5", The 'moonish' shape is an old mis-cut
Sentiment Stamp: Michael's
Ribbon: Offray
Bling: Dollarama
Buttons: stash

Friday, September 23, 2011

Justwordz DT Friday!

Hi Crafters,
Before I get into this weeks project I wanted to mention that my card from last week (click here to see it if you missed it) was featured on The Joyful Stamper blog. How cool is that?! Okay now on to this week.....

This week for the Justwordz DT I was asked to make a project about loving my mother. Easy!!! My mother's birthday is coming up and she has already informed me she wanted an easel card lol...so here it is! I actually figured out how to make a 5x5 one without any help! I like how it turned out but for some reason I am not in love with it. I may end up making her another one...who knows. The Cricut cut you see is a doily from Cinday Loo cartridge. There are not super good layers on this cartridge so I had to make my own. This involved cutting the doily out three times in different colours and then cutting away the parts I didn't want. In the end I think I pulled it off okay!


Details:
A2 size card
Cardstock: Recollections and Staples Brand white base
Cricut Cut:  Cindy Loo Cartridge doliy cut @ 4", bird cut @ 1.5"
Sentiment: Justwordz Everyday Sentiments Set
Twine: The Twinery
Pearls: Dollarama
Felt flower: homemade
Punch: Fiskers

Don't forget Kim is about to release two new stamp sets! A party invite set and a Christmas set! For a limited time only (as in just a couple days left) she is taking pre-orders for a introductory price of $18.99!!! Here's a peek at the sets...

(Remember you can click on the image to see it larger so you can see each and every beautiful word on these amazing sets)!

Don't forget to head over to the Justwordz blog and check out the rest of the DT creations made with the Everyday Sentiments stamp set! Don't forget this set is still available to but there is only limited supply left before you will have to wait for a re-order from the manufacture.

Have a wonderful weekend everyone and happy crafting!
Tara

I'm linking this card at:
 

Wednesday, September 21, 2011

Guest poster on Bride on a Budget

Hi Everyone,
I am honoured to be a guest poster on Ashley's blog Bride on a Budget today. If you have popped over from her blog welcome! If you are a follower of mine head over to her blog and check it out. I have followed Bride on a Budget since before I was even engaged (shhh that's just between us though lol). She has so many great ideas and some wonderful giveaways. I am also a 'bride on a budget' and that is why I decided to put my Cricut Expression to work for me during this wedding planning process.

One thing that really shocked me when pricing items was the cost of wedding favours. Now I know we all love our own and pray that everyone else is going to as well but lets face it many will not become the cherished items we wish they would. It was because of this that I was not willing to break my budget to buy these. Instead I used the Tie the knot cartridge which I already owned and with the help of my wedding party and my mom we made 60 of each of the bride and grooms for a total of 120 wedding favours :) It took us about 5 hours in total but hey it was a great excuse for us girls to all get together and we had a blast. So much so my cheeks hurt from laughing by the time they left and how cute are these...


We watched this video to help us get started and made a couple out of 'scrap paper' for practice.

Here are some photos of production...


Anddddd....this is what we looked like when we finally finished :)


Here is a break down of everything I needed and had to purchase to make these darlings...

Cricut Expression + Tie the knot cartridge: I already owned
White cardstock: all from that huge paper pile (actually felt really good to use some of those up)
Black cardstock: American Crafts (60 pack) $25.00
Sookwang Tape (25m) : $16.99  (I have enough left over to make all 120 five more times lol)
Gems: Offray tube $5.99  (I have tons left over and plan on using them on some other wedding stuff)
Cuttlebug + Divine Swirls folder: already owned
Ribbon: Offray $1.00
Black Pearl Pen: $7.99  (again lots and lots left over for future craft projects)
Cinnamon hearts to fill them up $4.99
Total: $61.96 (Can.)

Now I know the prices are a bit more here in Canada but before making these I was looking at a minimum of $1.00 per favour without candy. So in the end I saved more then half by firing up my Cricut and spending a couple afternoons with some great friends. Remember to think about what you already have and tap into those resources before you spend more then you need to.

Check back often to see more of my 'Cricutized' wedding in the near future :)
Happy Crafting!
Tara


Sunday, September 18, 2011

Birthday Sundaes Challenge #27

Hi Everyone,
It's time for a new challenge on the Birthday Sundaes blog. This week the challenge is to make a belated birthday card and don't forget the sentiment on the front of your card. This week I used a free digital image from Beccy's Place for my card. He just looked a little sad like he missed the party. I coloured him with my Prisma coloured pencils and used my fabulous Justwordz Everyday Stamp set for the sentiment.
Thanks for stopping by today and don't forget to head on over to the Birthday Sundaes blog to check out the rest of the DT creations as well as our guest designer this week.
Happy Crafting!
Tara


Details:
A2 size card
Cardstock: Base- Staples Brand
Patterned papers: All from scrap pile (oh yeah)!
Digital Image: Freebie Beccy's Place
Sentiment Stamp: Justwordz Everyday Sentiment Stamps
Punches: Fiskers
Ribbon: Offray
Prisma Coloured Pencils + Gamsol
Brads: stash

Friday, September 16, 2011

Justwordz DT Friday!

Hi Crafters,
This week for the Justwordz DT we were asked to make a  'Just because' project. I have been trying to make some more 'adult' cards (does that sound nasty to anyone else....I think I mean more 'grown up' cards lol) and I think I pulled it off this week! I like the simple elegance of this card. That and all the bling! :)


Details:
A2 size card
Cardstock: Recollections and Staples Brand white base
Cricut Cut: Home Decor Cartridge cut @ 3"
Sentiment: Justwordz Everyday Sentiments Set
Ribbon: Offray
Bling: Dollarama
Remember last week when we told you that Kim is about to release two new stamp sets! A party invite set and a Christmas set! And that for a limited time she is taking pre-orders for a introductory price of $18.99!!! Well, that deal is still good. Not quite convinced? How about if I give you another sneak peek at the sets then....


(Remember you can click on the image to see it larger so you can see each and every beautiful word on these amazing sets)!

I have mine on order! Do you?

You'll also want to head over to the Justwordz blog and check out the rest of the DT creations made with the Everyday Sentiments stamp set as I know they are going to be amazing! Don't forget this set is still available to but there is only limited supply left before you will have to wait for a re-order from the manufacture.
Have a wonderful weekend everyone and happy crafting!
Tara


Tuesday, September 13, 2011

My New Button Holder

Hi Everyone,
I can't believe I forgot to post this. I made it this summer and was so proud of it. Okay well I didn't exactly make it so much as put it all together. I bought this shelf at Value Village for $4.59 and I got the mason jars at Canadian Tire for $8.84. It works perfect! I hated the system I had before it was actually a pain in the butt to use buttons because I had to do so much digging to get one. Now...not a problem! And how awesome does it look under my ribbon holder shelfs that I got at a yard sale last summer. Slowly I'm organizing my room cheaply so that I can spend all my extra money on supplies :)
Got any great organizational ideas I could use?
Tara
This is how they were stored...


And now...


My sewing machine actually belongs on this table but I moved it for the picture so you could get the full view. When I get a house and can hang more stuff on the walls it will be hung too but it is too heavy to hang right now without some support.


Monday, September 12, 2011

Paper Playtime Challenge # 55

Hi everyone,
I am so EXCITED! I was asked to join the Paper Playtime Challenge Blog and be a Paper Playtime Queen for the month of September! They post new challenges every two weeks and I am soooo very honoured to be on this team with these amazing Queens! The current challenge is to create a easel card. Now if you have followed me for a while you know I am a plain ol' Jane A2 size card kinda gal. So when I am asked to make a different type of card I have a breathless moment before I head over to youtube and do some pertinent research :) This one was easy peasy though. I watched this tutorial and was off to create. I really like the smaller size of this card when it is folded up and it fits fine in a A2 size envelope. I'll be making more like this I am sure as my mother has already claimed she would love one like this to display at her station at work (she's a hairdresser and her older clients just love seeing the newest and greatest thing her daughter has made for her lol...little ol' ladies are too cute!)

Have you made an easel card before? Wanna give it a shot? Head over to the Paper Playtime Blog and see what all the other fabulous design team queens have made and then get crafty and show us your stuff!
Happy Crafting!
Tara

(Sorry the image is a bit blurry I must have had bad lighting when I was taking it)

Details:
Easel card
Cardstock: Bazzill + scraps
Digital Stamp + Sentiment: Lili of the Valley
Prisma coloured pencils + Gamsol
Paper Flowers: stash
Gems: Dollarama
EK Success Edger Punch 'open scallop'
Baker's Twine: Twinery

Sunday, September 11, 2011

Birthday Sundaes Challenge #26

Hello Crafty People,
We have a neat challenge for you this week on Birthday Sundaes. It is to create a criss cross birthday card with a birthday sentiment on the front. At first I was a bit intimated by this challenge as I only ever made A2 size cards and have only attempted even one shape card in my card making adventures. Honestly, after watching the Splitcoaststampers tutorial it was a breeze and I can see myself making more of these in the future! For the cupcake on my card I used my From My Kitchen cartridge that I got for Christmas and I am pretty sure this is the first time it was been used :S. Do you have those cartridges that you just had to have and then you turn around and don't use them at all? Anyways the cupcake was cute and it worked so perfect with this two sided patterned paper by Imaginisce I have been hoarding forever :) Thanks for stopping by today and don't forget to head on over to the Birthday Sundaes blog to check out the rest of the DT creations as well as our guest designer this week.
Happy Crafting!
Tara

Details:
Criss cross card
Cardstock: bits and pieces from my never ending scrap pile
Patterned paper: Imaginisce
Cricut Cut: From My Kitchen cut @ 3"
Sentiment Stamp: Technique Tuesday Little Sentiment Stamps
Punches: EK Success edger "open scallop"
Ribbon: Offray
Glossy Accents
Stickles

Friday, September 9, 2011

Justwordz DT Friday!

Hi Everyone,

This week for the Justwordz DT project we were asked to make a card with a special occasion theme. My special occasion was anniversary. For my project I made a modern anniversary card. I used some non-traditional anniversary colours and I think it has a fun, bright feel to it! I also decided on this card that I have been trying to 'keep up with the Jones' " when it comes to embellishing my cards and truly I am just a plain and simple girl. Less is more for me :) I'm heading back to my roots!

Guess what??? We have exciting news this week! Kim is about to release two new stamp sets! A party invite set and the other is a Christmas set! Annnnnddddd for a limited time she is taking pre-orders for a introductory price of $18.99!!! Thinking about it aren't ya? Well, I'll show you them....


(Remember you can click on the image to see it larger so you can see each and every beautiful word on these amazing sets)!

....yup your totally convinced, I know I was when I saw them!!! Pop on over to the Justwordz blog and order yours today. They totally rock! I can't even wait to get mine!


You'll also want to head over to the Justwordz blog and check out the rest of the DT creations made with the Everyday Sentiments stamp set as I know they are going to be amazing! Don't forget this set is still available to but there is only limited suppy left before you will have to wait for a reorder from the manufacture.

Okay, on a side note I have recently changed my blog address and I had no idea this was going to mess things up for my followers. If you are here as a follower great...but have you noticed that my posts have not been showing up in your blog roll? What you need to do is stop following me and then re-follow so you have my new URL link working from you dashboard. If you could do this it would be great and please help me spread the word as I miss all my wonderful followers and their sweet comments! Just for reference my old address was creativeprincess-homemadehappiness.blogspot.com (can you see why I really wanted to change it) and my new one is tarashomemadehappiness.blogspot.com


Have a wonderful weekend!
Tara


Details:
A2 size card
Cardstock: Recollections and Staples Brand
Cricut Cut: Sweetheart Cartridge cut @ 3"
Sentiment: Justwordz Everyday Sentiments Set
Ribbon: Offray
Bling: Dollarama
Jelly Roll pen


Sunday, September 4, 2011

Birthday Sundaes Challenge # 25

Welcome back!
This week the challenge on Birthday Sundaes is a simple one. Just create any birthday card making sure to put a birthday sentiment on the front of your card. Then link up before next Sunday (Sept. 10) so we can all be inspired and you will be given the chance to win a great prize! This week we are sponsored by Whimsie Doodles and I can't even tell you how cute their digital stamps are!  One lucky winner will receive a $10 Gift Certificate to the Whimsie Doodles online store and as a treat for everyone they are offering Birthday Sundaes fans a 10 % off your next order coupon! (use the code Birthday10) Code expires 30 days from today so what are you waiting for head over there now!

I used their image called 'Balloon Leah' for my card this week and I just can't get over how cut she is! I coloured her with my Prisma coloured pencils and then used my circut to cut the oval around her (centre point is one of my favourite features on the Cricut Expression).
 
Thanks for stopping by today and don't forget to head on over to the Birthday Sundaes blog to check out the rest of the DT creations as well as our guest designer this week.
Happy Crafting!
Tara


Details:
Cardstock: Base- Staples Brand, coloured pieces from scrap pile
Digital Image: 'Balloon Leah' Whimsie Doodles
Sentiment Stamp: Justwordz Everyday Sentiment Stamps
Punches: Fiskers
Twine: Twinery
Prisma Coloured Pencils + Gamsol
Cuttlebug + seeing spots embossing folder
Gems: Dollarama


Friday, September 2, 2011

Justwordz DT Friday!

Hi Everyone,
This week for the Justwordz DT project Kim gave us a hard one....we had to make a tag. Sounds simple enough and it was other then a panic I felt before I started as this was my first ever tag! Honestly though, I am super proud of this one. I really love how it turned out and I went really far outside my box!

You'll notice I used all really bright colours this week. Well, that is because the day I was making it was sunny and 25. I was in a bit of a tropical mood after the terrible weather we have been experiencing here in Nova Scotia this summer.

One of the neat things I did on this tag that was outside my norm was that I created the background paper. After getting the tag cut out in the blue it looked like it was missing something. I bought these circle Hero Arts stamps a while ago and have never inked them up so I gave it a shot. You can't really tell that the dots are all in circles after I got everything on but I still really liked the effect.

I also did some inking on this card which I am slowly feeling more confident doing (having the right supplies really helps...get yourself some artist sponges and you will be glad)

To finish off the card I sprayed it with glimmer mist (this was another one of those had to have items that has been collecting some major dust). Now this was the part I was scared to death to do as it was finished and I always seem to mess it up when I just want to add that 'little something' right at the end. Does this happen to anyone else? Anyways you can't see it in the picture but the entire tag is all simmery and looks awesome!!!

Ok if you are still with me thanks...not sure why I am so long winded today (home alone with no one else to talk to maybe lol) Don't forget to head over to the Justwordz blog to check out the rest of the DT creations as I know they are going to be amazing!
Have a wonderful weekend!
Tara


Details:
Cardstock: scrap pile :)
Stamps: Justwordz Everyday Sentiments stamp set
Cricut cuts: Plantin Schoolbook
Tag cut @ 4 1/2
Flower @ 2
Circle @ 1/2
Punch: Martha Stewart Butterfly
Ink for background: Marina Mint Stampin' Up
Glimmer Mist: silver sugar
Baubles: hand dyed by me
Pearl Pen black
Ribbon: Offray
Micheal's pink chalk ink

Thursday, September 1, 2011

August Monthly Craft Spending

Dear Crafters,
I am not sure I want to keep this up. It has become a bit of an embarrassment for me but at the same time I made the commitment to myself to record my craft spending for one year to try and save some money. That is the main problem. It doesn't seem to be helping me save money at all! I'll see how September goes and let you know. Maybe once I am back to work and in more of a routine with minimum time to shop and craft I will do much better. Honestly, I have to or I am going to put us in the poor house although we will have lots of pretty paper to play with lol.
Tara

3rd - Dollar Store $7.19
3rd - Walmart $3.50
3rd - Michael's $3.44 (I'm pretty sure this is the least amount I have EVER spent in this store lol)
3rd - The Twinery $29.16
5th - Bargain Harley's $22.16
6th - My Stamping Studio $82.92
9th - Carsand-Mosher $3.57
9th - Michael's $4.38 (And I made another cheap trip here...wow)
9th - Value Village $4.59 (This was my new button shelf that I will be showing you very soon)!
9th - My Stamping Studio $6.84
9th - Canadian Tire $8.84
(I got my mason jars for my buttons at Canadian Tire...not really a lot of scrapbooking supplies there lol)
10th - Everlasting Papercraft amd Beyond $9.76
15th - Dollarama $4.60
15th - Everlasting Papercraft amd Beyond $7.45
16th - My Stamping Studio $17.34
16th - Loonies and Toonies $4.60
18th - The Tape Depot - $85.46
22nd - Michael's $ 10.85
27thth - My Stamping Studio $34.79

Total: $345.44
Money made: $6.50
Final Total: $338.94